How Do You Build a Canada Day Grazing Board?
- 19 hours ago
- 5 min read
To build a Canada Day grazing board, start with a large olive wood board, then style it in red and white using strawberries, raspberries, watermelon, cherry tomatoes, and white cheeses. Add crackers, cured meats, and dips to fill the gaps. Build it about an hour ahead, keep it shaded and cool outside, and let guests graze through the afternoon.
The July long weekend is the first proper backyard gathering of the Canadian summer. The patio is open, the grill is warm, and people drift in and out all day. A grazing board is the easiest way to feed that kind of crowd, because it sits out, looks generous, and asks nothing of you once it is built. On a handcrafted olive wood board carved in Crete, Greece, it also looks far better than a plastic tray from the grocery store.
Here is how to put one together, from choosing the board to cleaning it up so it lasts for years.
Start With the Right Board
The board is the foundation, so pick one with enough room to spread out. For a Canada Day crowd, bigger is better. A long rectangular board or a large round one gives you space to group foods without everything running together.
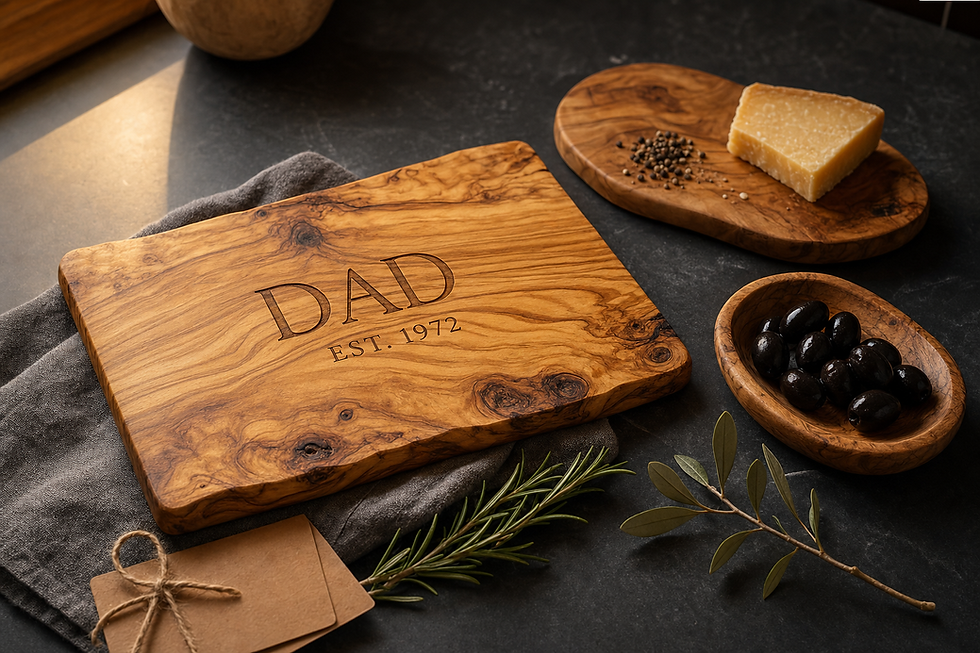
Olive wood is the ideal surface for grazing. It is one of the densest hardwoods, so it resists scratches and odours, and the swirling golden grain makes even a simple spread look intentional. Each piece is hand carved from olive trees at the end of their fruit producing life, then finished with a food safe blend of organic olive oil and beeswax. No two boards look alike, which is part of the charm. Browse the full range of handcrafted olive wood cutting boards and choose the largest size your table can hold. A piece like the Natural Cutting Board doubles as a serving board and an everyday kitchen board long after the holiday.
If you are feeding more than a handful of people, set out a second board or a serving tray so the spread does not crowd. It also gives you a spot to refill while the main board stays full.
Build a Red and White Spread
Canada Day styling is easy because the colours are already in season. Lean into red and white and the board looks festive without any effort.
For the reds, reach for strawberries, raspberries, cherries, watermelon cut into cubes or wedges, cherry tomatoes, and roasted red peppers. A small bowl of salsa or a roasted pepper dip adds another hit of colour. For the whites, use white cheddar, bocconcini, brie, goat cheese, and Monterey Jack. Crackers, sliced baguette, and white bean dip round things out.
Fill the rest of the board with the usual grazing favourites: cured meats, olives, nuts, grapes, and a drizzle of honey. The goal is a board that reads red and white from across the patio but still has enough variety that everyone finds something they like.
A few make it Canadian touches go a long way. A small dish of maple roasted nuts, a wedge of aged Canadian cheddar, or local berries from a farmers market all tie the board to the day.
How to Lay It Out
A good grazing board looks abundant and a little wild, but there is a simple order to building one.
Start with the bowls. Anything wet or loose, like dips, olives, or honey, goes into small dishes first so it does not soak into the wood or roll around. Place two or three bowls at different points on the board to anchor the layout.
Next, add the cheeses near the bowls, spaced out rather than clustered. Then fold or fan the cured meats around them. Now fill the largest remaining gaps with the fruit, grouping the reds in a few spots so the colour is balanced. Finally, tuck crackers, bread, nuts, and small garnishes like fresh mint or rosemary into every empty space. The board should look full with very little bare wood showing.
Work from large items to small and you will never end up with awkward holes. If you want the full method for a spread that survives a hot afternoon outdoors, our guide on building a summer charcuterie board that holds up outside walks through it step by step.
Make It Ahead and Keep It Cool Outside
You do not want to be assembling a board while guests are arriving. Build it about an hour before people show up, cover it loosely with a damp tea towel or beeswax wrap, and keep it in the fridge until just before serving.
Outdoors, heat is the enemy of a grazing board. Set it in a shaded spot, away from direct sun, and keep soft cheeses and meats out for no more than about two hours at a time. A simple trick is to build a smaller board and refill it from the fridge, rather than putting everything out at once. That keeps the food fresh and the board looking full all afternoon. The same thinking that opens patio season with one good serving board applies right through the summer.
Olive wood handles the outdoors well, but it is still natural wood. Keep it off the hot grill lid and out of standing water, and it will be fine on the patio table all day.
Clean Up and Keep the Board for Years
When the day winds down, scrape off the crumbs, then wash the board by hand with warm water and a little mild soap. Never put it in the dishwasher and never let it soak. Wipe it dry right away and stand it on edge so air reaches both sides.
Every few weeks, or whenever the wood starts to look dry, rub in a thin coat of food safe mineral oil or a board cream. This keeps the grain rich and stops it from cracking. Cared for this way, a single board moves from Canada Day to Thanksgiving to Christmas and lasts for decades. Our full olive wood cutting board care guide covers the routine in detail.
Make This Canada Day Easy
A grazing board is the most forgiving way to host. Build it once, set it out, and spend the afternoon with your guests instead of in the kitchen. On a piece of handcrafted olive wood, it also becomes part of the day people remember.
Browse our olive wood cutting boards and serving pieces to find the right size for your table. Every order ships from Canada in about 5 to 7 days and is backed by our 60 day promise, and boards and trays can be engraved to make a lasting gift for the host. Happy Canada Day.


Comments